
 Ink Brands
 How to Replace Printer Toner Without the Mess
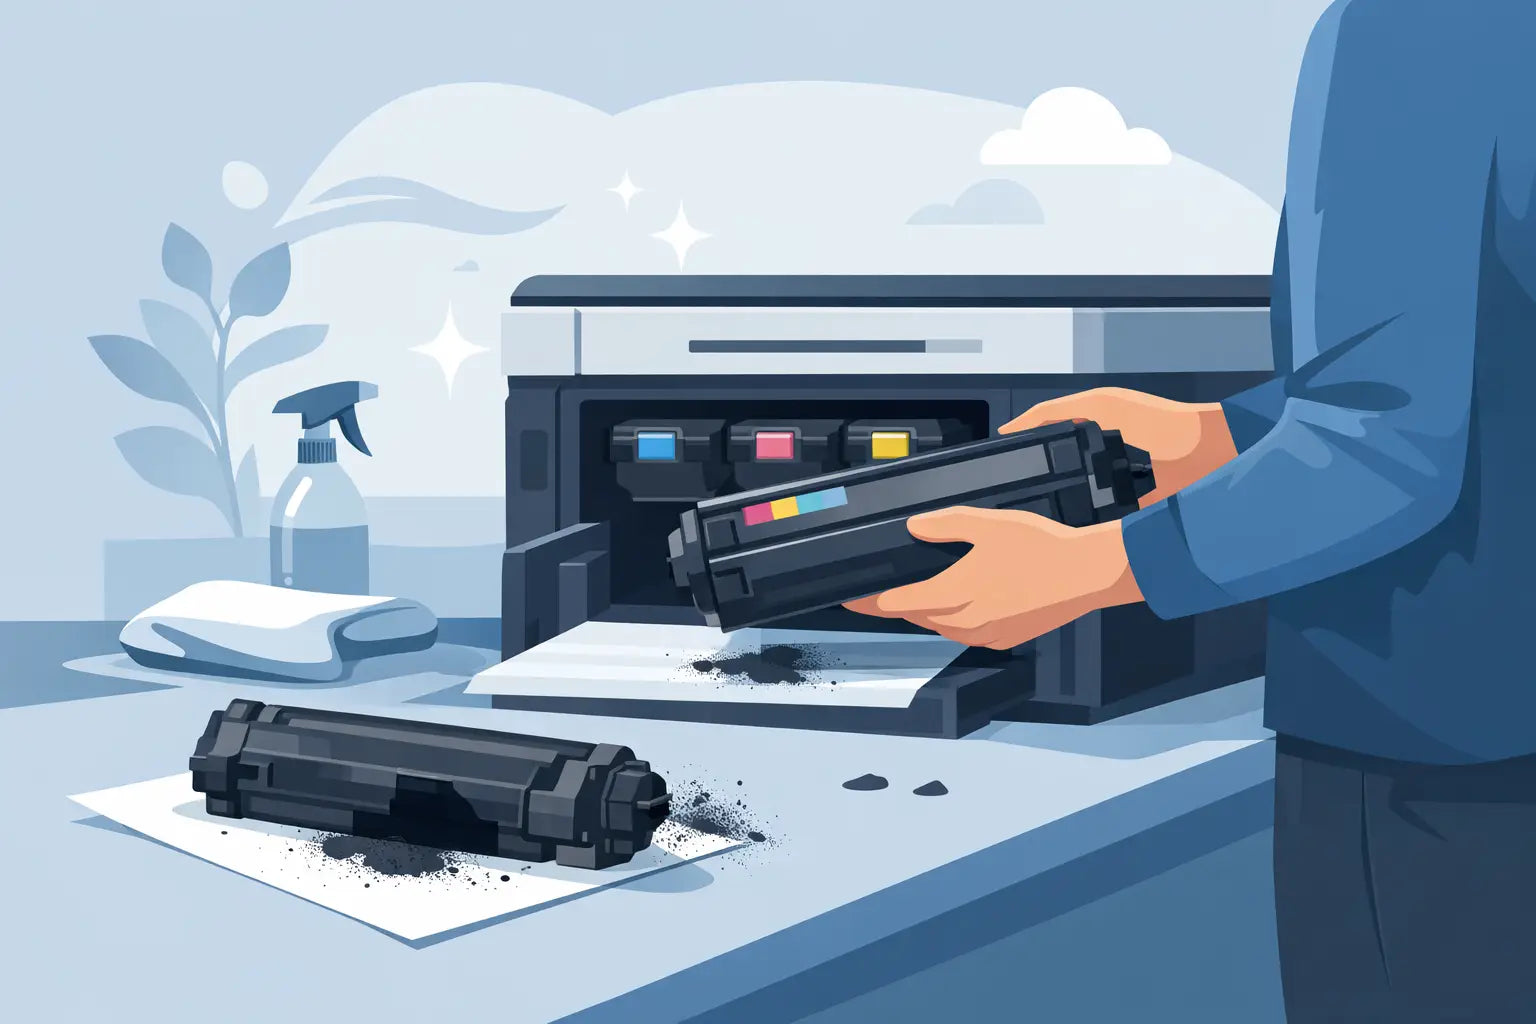
A toner warning always seems to appear when you need to print something urgently. The good news is that learning how to replace printer toner is usually quick, clean and straightforward - provided you have the right cartridge for your printer and handle it carefully.
Laser printer toner is a fine powder, not a liquid like inkjet ink. That means a little preparation goes a long way. Whether you are replacing toner in a home office printer or keeping a busy small business machine running, these steps will help you change the cartridge confidently and avoid the common mistakes that lead to poor print quality or error messages.
Before you replace printer toner
Start by checking the printer model and the toner cartridge code. These are not always the same thing. Your printer model is usually printed on the front or top of the machine, while the cartridge code may be shown in the printer manual, inside the toner access panel or on the cartridge you are replacing.
This check matters because cartridges can look almost identical while fitting different printer models. Ordering by printer model is often the simplest way to avoid a mismatch. If you are choosing between a genuine cartridge and a compatible alternative, the right choice depends on your budget, print volume and workplace requirements. Genuine toner is made by the printer manufacturer, while a quality compatible cartridge can offer a lower-cost option for many everyday printing needs.
Have the new cartridge ready before removing the old one. Keep it in its sealed packaging until you are ready to install it, and place a sheet of paper or an old cloth nearby in case loose toner escapes. Toner usually does not spill when cartridges are handled properly, but it is easier to prevent a mess than clean one up.
How to replace printer toner step by step
The exact door, lever and cartridge position vary by brand and model, but most laser printers follow the same basic process.
1. Leave the printer on, unless its manual says otherwise
For many printers, it is best to leave the machine switched on so it can recognise the new toner cartridge once installed. If the printer has just finished a large print job, give it a few minutes to cool down first. Internal components, particularly in laser printers, can become hot during use.
Open the front cover, top panel or toner access door. The printer may automatically move the cartridge carriage into position. Avoid forcing any part of the mechanism. If something does not open easily, check for a release button or consult the instructions displayed on the printer screen.
2. Remove the empty cartridge carefully
Grip the cartridge by its handle and pull it out slowly, keeping it as level as possible. Do not squeeze it or shake it over the printer. On colour laser printers, take note of which slot each cartridge came from. They are normally labelled black, cyan, magenta and yellow, but confirming the position first can save time.
Set the used cartridge aside on your prepared paper or cloth. If it still has some toner left, it may be useful to keep it as an emergency backup, but only if it remains clean, undamaged and is clearly labelled. Otherwise, arrange cartridge recycling through an appropriate collection point rather than putting it in household rubbish.
3. Prepare the new toner cartridge
Take the new cartridge from its box and remove the outer bag. Most toner cartridges have a protective seal, plastic tab or orange packing pieces that must be removed before installation. Follow the instructions on the cartridge packaging, as the location of these parts differs between brands.
Gently rock the cartridge from side to side a few times, holding it level. This helps distribute the toner evenly after transport. Do not shake it vigorously. Excessive shaking can cause toner powder to escape and does not improve cartridge performance.
Avoid touching the green or blue imaging drum if your cartridge has one exposed. Fingerprints, scratches and dust on the drum can leave lines, marks or faded areas on printed pages. Hold the cartridge by its handle or solid plastic sides instead.
4. Remove the sealing tape fully
Pull the sealing tab in the direction shown by the arrow, using a slow and steady motion. The tape should come out in one piece. If it tears, do not insert the cartridge with part of the seal still inside it. Check the cartridge instructions and carefully remove any remaining material without poking tools into the toner opening.
This small step is one of the most common causes of a new cartridge appearing not to work. A cartridge with its seal still in place cannot release toner properly, so prints may come out blank or extremely faint.
5. Insert the cartridge into the correct slot
Slide the new toner cartridge into the printer along its guides. It should move smoothly and sit firmly without force. Many models click into place, while others simply stop at the correct depth. If it will not fit, remove it and double-check the cartridge code, orientation and any remaining protective packaging.
Close the printer cover securely. The machine may make a few sounds while it calibrates or checks the new cartridge. This is normal, especially for colour laser printers. Wait until the printer display shows that it is ready before sending a print job.
6. Print a test page
Print a test page, a document with both text and images, or the printer's built-in status report. Look for clean black text, even colour and no repeated streaks. A faint first page can occasionally occur while toner settles, but consistent fading, blank pages or error messages need attention.
If your printer still says that toner is low after replacement, close and reopen the access door, then remove and reseat the cartridge. Some models also require a toner reset through the control panel. Check the printer's on-screen prompts before trying a reset, as the process differs by manufacturer.
When the toner cartridge and drum are separate
Some laser printers use an all-in-one cartridge containing both toner and the imaging drum. Others use a toner cartridge that clicks into a separate drum unit. This is particularly common in some Brother laser printers.
If your printer has separate parts, remove the combined drum-and-toner assembly first. Release the old toner cartridge from the drum unit, then fit the new toner into that same drum until it clicks. Do not replace the drum unless the printer says it needs replacing or print quality points to a worn drum. Toner and drums have different page yields, so replacing both every time can cost more than necessary.
After changing toner in a separate-drum system, some manufacturers recommend cleaning the corona wire. This is usually done by sliding a small green tab across and back several times, then returning it to its home position. Leaving the tab in the wrong position can create a vertical line on the page, so check that it is fully returned before closing the printer.
What to do if toner spills
Toner powder is very fine, so resist the urge to wipe it with a wet cloth. Water can make it smear and set into fabric. Instead, use a dry, soft cloth to lift loose toner from hard surfaces. A vacuum designed for fine toner particles is ideal for larger spills; an ordinary household vacuum may not be suitable because the powder can pass through filters.
If toner gets on clothing, brush off as much dry powder as possible outdoors or over a bin, then wash the garment in cold water. Avoid hot water and heat from a dryer until the toner has been removed, as heat can make the stain harder to shift.
Avoid these replacement mistakes
Most toner problems come down to a few avoidable errors: buying a cartridge for a similar-looking printer, leaving the pull seal in place, touching the imaging drum, forcing a cartridge into the wrong slot or ignoring a printer message that refers to the drum rather than toner.
It is also worth keeping a spare cartridge if your printer is used for invoices, schoolwork, shipping labels or client documents. Toner warnings can appear well before the cartridge is completely empty, but waiting until the last possible page can still leave you caught short. For workplaces with regular printing, noting the cartridge code and ordering before supplies run low makes replacement far less disruptive.
A correctly fitted cartridge should give you clear pages with minimal fuss. Keep the packaging instructions handy, choose toner that matches your exact printer model, and take your time with the protective seal. That is usually all it takes to get back to printing.