
 Ink Brands
 How to Replace an Empty Ink Cartridge Safely
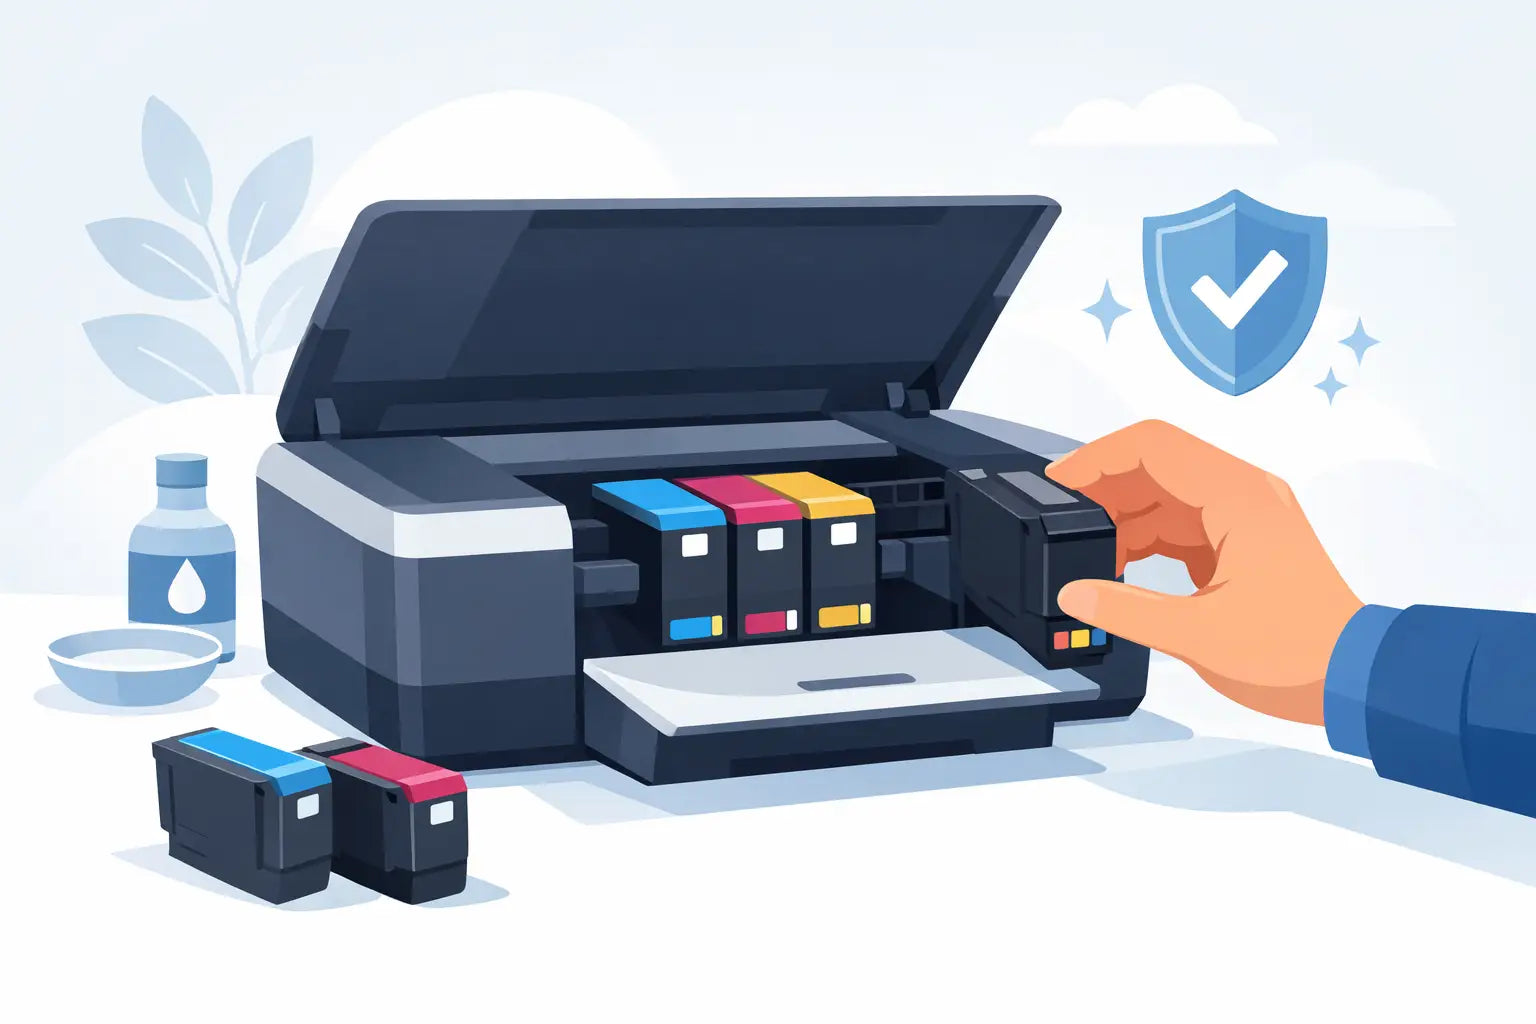
That low-ink warning always seems to appear when you need to print a school form, invoice or boarding pass. Knowing how to replace an empty ink cartridge properly can save you from streaky pages, error messages and the hassle of ordering the wrong replacement. The job is usually quick, but a few small details make a real difference to print quality and whether your printer recognises the new cartridge.
Before You Replace an Empty Ink Cartridge
A low-ink alert does not always mean a cartridge has stopped printing completely. Most printers estimate ink levels based on usage, so the warning may appear while there is still enough ink for a handful of pages. If your printouts look clear and you do not urgently need to replace it, you can usually keep printing until quality starts to fade.
If text is pale, colours are missing, or the printer refuses to print, it is time to check the cartridges. Open the printer as directed by its on-screen message or manual, and wait for the carriage to move into its replacement position. Never force the carriage across by hand. This can damage the mechanism and may create a more expensive problem than a replacement cartridge.
Before ordering, confirm your exact printer model. Cartridge names can look very similar, but even printers in the same product range may use different supplies. Check the model label on the front or back of the printer, then match it to the cartridge number shown on the old cartridge or in your printer settings.
Check Which Cartridge Needs Replacing
Many colour inkjet printers use separate black, cyan, magenta and yellow cartridges. Replacing only the colour that has run out is usually the most cost-effective option. Other printers use a black cartridge and one tri-colour cartridge, where cyan, magenta and yellow are combined in a single unit. In that case, the whole colour cartridge needs replacing even if only one colour is depleted.
Laser printers use toner rather than liquid ink. The installation process is similar in principle, but toner cartridges are larger and should be handled differently. Avoid shaking a toner cartridge aggressively, as loose toner can spill. A gentle side-to-side rock may be appropriate for some models if the manufacturer recommends it, but it is not a substitute for a genuinely empty cartridge.
How to Replace an Empty Ink Cartridge
Start with clean, dry hands and have the new cartridge ready before opening the printer. Ink is designed to stay inside the cartridge, but touching the wrong areas can affect print quality or leave ink on your fingers.
Open the Printer and Remove the Old Cartridge
Turn the printer on unless its instructions specifically say otherwise. On most inkjet models, lifting the scanner unit or cartridge access door will move the cartridge carriage into position. Wait until it stops moving and is completely quiet.
Release the empty cartridge using its tab, clip or latch. The exact mechanism differs between brands, so use light pressure rather than pulling hard. Lift the cartridge out and set it aside on a piece of paper with the ink outlet facing up. Do not leave it on a desk or benchtop where ink residue could transfer.
Prepare the New Cartridge Carefully
Take the replacement cartridge out of its packaging only when you are ready to install it. Remove the protective tape, orange clip or plastic seal as instructed on the cartridge label. This seal protects the ink outlet and electrical contacts during shipping.
Do not touch the copper contacts, chip, ink nozzles or outlet area. Skin oils and dust can interfere with communication between the cartridge and printer. It is also worth checking that every piece of protective tape has been removed. Leaving even a small seal in place can prevent ink from flowing correctly.
Install It in the Correct Slot
Match the cartridge label or colour marker to the correct position in the carriage. Slide or press the cartridge into place until it clicks or sits firmly under its latch. Do not force it. If it will not fit easily, remove it and check that it is the right cartridge and facing the correct direction.
Close the printer cover and allow the printer a moment to recognise the cartridge. Some models will display a confirmation message or begin an automatic ink charging process. This is normal and may take a few minutes. Avoid switching the printer off while it is preparing the new cartridge.
Run a Test Print
Print a nozzle check, test page or a document containing both black text and colour. Most printers offer a maintenance menu on the control panel or in their software. A clear test print confirms that the cartridge is seated properly and ink is flowing as it should.
If there are gaps, faint lines or missing colours, run one printhead cleaning cycle. Wait for it to finish, then print another test page. Repeated cleaning cycles use a surprising amount of ink, so avoid running several back-to-back unless your printer manual recommends it.
Genuine or Compatible Replacement Cartridges?
When it is time to buy, you generally have two choices: genuine cartridges made by the printer manufacturer, or compatible cartridges made by a third party for use in a particular printer model.
Genuine cartridges are the manufacturer-branded option. They can be a sensible choice for particular printers, specialist photo work, or workplaces that need to follow a manufacturer supply policy. Their main drawback is price, especially when a printer uses multiple colours.
Compatible cartridges are a lower-cost alternative designed to fit and work with selected printer models. A quality compatible cartridge can be a practical option for everyday home printing, schoolwork, invoices and office documents. The key is buying from a reputable supplier that clearly lists printer compatibility and stands behind its products.
The right choice depends on how you print. If colour-critical photography is your priority, genuine cartridges may suit your needs. If you are printing regular documents and want to reduce ongoing costs, compatible cartridges can offer excellent value. Whichever you choose, make sure the cartridge number and printer model match exactly.
Common Problems After Replacing a Cartridge
A new cartridge should work shortly after installation, but a few common issues can occur. If the printer says it cannot recognise the cartridge, remove it, check that the protective tape is fully removed, and reinstall it firmly. Make sure it is in the correct slot and that you have not mixed up similar cartridge numbers.
If the printer still displays a low-ink message, do not assume the replacement has failed. Some printers continue to show an estimate based on previous usage or require you to acknowledge that a new cartridge has been installed. Check the printer screen for a prompt before taking further action.
Streaks or missing lines on the first print are often caused by ink needing to move through the printhead. Run one cleaning cycle and test again. If the issue continues, check for dried ink around the printhead area, particularly if the printer has been unused for months. For printers with cartridges that include the printhead, replacing the cartridge may resolve it. For printers with a built-in printhead, cleaning and maintenance may be needed.
Avoid removing and reinstalling cartridges repeatedly. Every time the printer opens its cartridge bay, it may run a maintenance routine that uses ink. If you are unsure whether a cartridge is correct, compare its code with your printer model before breaking the seal.
Store and Dispose of Cartridges Responsibly
Keep spare cartridges sealed in their original packaging and store them somewhere cool and dry, away from direct sunlight. A cupboard is better than a hot garage, car boot or windowsill. Do not open a cartridge early just to check it, as exposure to air can affect the nozzles over time.
Empty cartridges should not go in your regular rubbish bin where recycling options are available. Many councils, recycling programs and participating retailers accept used printer cartridges for recycling. Place the old cartridge back in its protective packaging if possible, or keep it in a small bag until you can recycle it. This helps prevent ink leaks and keeps reusable materials out of landfill.
A useful habit is to order a replacement when the first low-ink warning appears, rather than waiting until printing stops. Keeping a correctly matched spare on hand means no last-minute run to the shops when an important page is due. Inkspot makes this easier by helping Australian customers shop by printer model, so you can choose the right genuine or compatible cartridge with confidence.