
 Ink Brands
 How to Clean Printer Rollers Without Damage
A printer that pulls through two sheets at once, makes a clicking sound, or refuses to pick up paper is often dealing with dirty rollers, not an empty cartridge or major fault. Learning how to clean printer rollers can restore reliable paper feeding in a few minutes and may save a frustrating call to a technician.
Paper dust, coating residue and everyday grime gradually make rubber rollers slippery. This is common in home printers that sit unused for weeks, as well as busy office machines that process large print runs. The right cleaning method depends on your printer type, but the aim is the same: remove surface contamination without soaking, scratching or damaging the rollers.
Start by confirming the rollers are the problem
Dirty pickup rollers are a likely cause when the printer displays a paper-feed error despite having paper in the tray. You may also notice frequent paper jams near the tray, multiple sheets feeding at once, or pages entering the printer crookedly.
Before cleaning, check the basics. Remove the paper stack and look for bent, damp or curled sheets. Make sure the paper guides sit snugly against the stack without squeezing it, and do not overfill the tray. Using mixed paper sizes, very thin paper or dusty old stock can cause feeding problems even when the rollers are clean.
If the issue happens only with one tray, concentrate on the rollers and separation pad for that tray. If it happens across every tray, the printer may need a more thorough clean or service.
What you need to clean printer rollers
For most inkjet and laser printers, use a clean, lint-free cloth that is lightly dampened with water. Microfibre cloths work well because they lift dust without leaving fibres behind. You will also need a dry lint-free cloth and, if access is tight, a cotton bud that will not shed.
Distilled water is preferable if you have it, particularly in hard-water areas, as it leaves less mineral residue. Avoid paper towel, tissues and rough cloths. They can break apart, catch on moving parts or leave residue on the roller surface.
Do not reach for household cleaning sprays, bleach, acetone or glass cleaner. These products can harden, crack or strip the rubber. Some manufacturers allow isopropyl alcohol for specific roller-cleaning tasks, while others advise against it. Check your printer manual first and only use it where the manufacturer explicitly permits it.
How to clean printer rollers safely
1. Turn off and unplug the printer
Switch the printer off using its power button, then unplug it from the wall. This prevents the feed mechanism from moving while your hands are inside the paper path.
For a laser printer, allow at least 30 minutes for it to cool before opening covers or reaching inside. The fuser area gets extremely hot during use. You are cleaning the paper-feed rollers, not the fuser, so there is no reason to touch components deeper in the machine.
2. Remove the paper and open the correct access point
Take all paper out of the input tray. Depending on the model, the pickup rollers may be visible above or behind the tray, through a rear access door, or beneath a removable duplexer unit.
Use a torch on your mobile if visibility is poor. Look for small rubber wheels or cylindrical rollers along the paper path. They are often grey, black or off-white. Avoid touching the ink nozzles in an inkjet printer, the drum unit in a laser printer, or any thin plastic sensor arms.
3. Wipe the roller while turning it
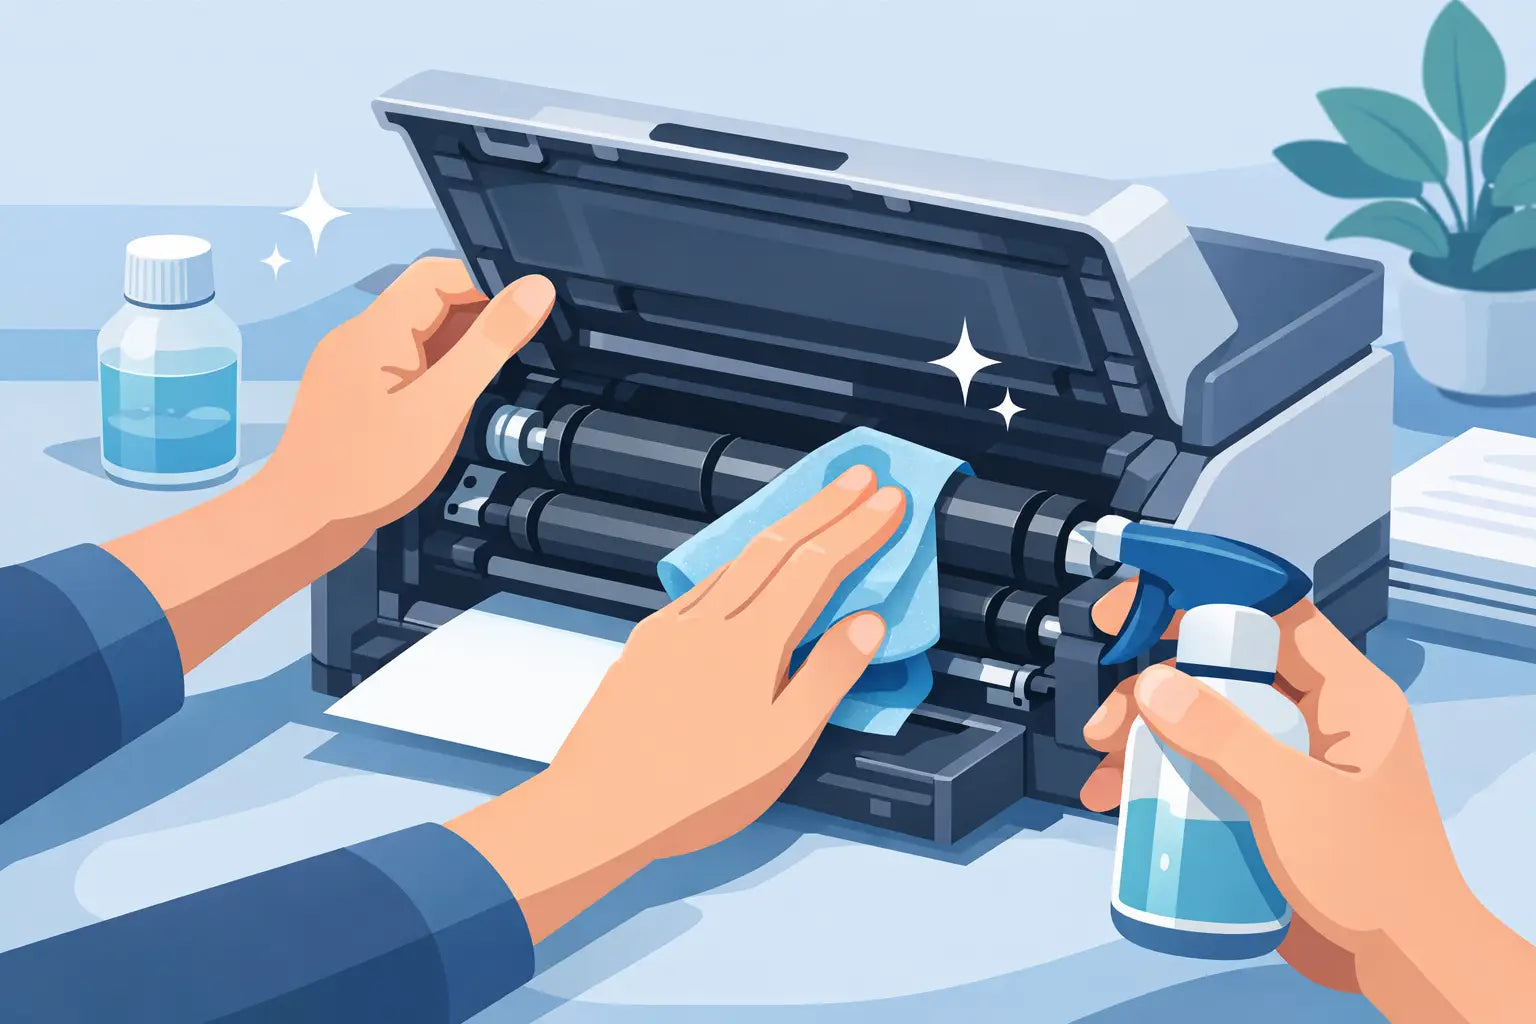
Lightly dampen a lint-free cloth. It should feel moist, not wet enough to drip. Hold the cloth gently against the roller and rotate the roller slowly with your fingers, if it turns freely.
Cleaning while turning is the key step. It lets you wipe the full circumference rather than only the visible section. Use gentle pressure and take your time around any shiny or visibly dusty areas. If the roller is difficult to reach, wrap the cloth around a finger or use a lightly dampened cotton bud.
Do not force a roller that will not rotate. Some mechanisms are geared and should only move in one direction. Forcing it can damage the feed assembly. Instead, clean the part you can reach, close the printer and use its paper-feed function later to expose another section if your model supports it.
4. Clean the separation pad if accessible
Many printers have a small rubber or cork-like separation pad near the pickup roller. Its job is to stop more than one sheet entering the printer at a time. If your printer is feeding several pages together, this pad may also be dirty.
Wipe it carefully with the same barely damp cloth. It is usually smaller and less durable than the rollers, so avoid scrubbing. Never try to sand, scrape or roughen the surface. That can give a short-lived improvement but often causes more feeding issues later.
5. Let everything dry fully
Use a dry lint-free cloth to gently remove remaining moisture, then leave the covers open for 10 to 15 minutes. The rollers must be completely dry before paper goes back in. Damp rollers can transfer moisture to paper, leading to jams or poor print quality.
Reinstall any tray, rear door or duplexer you removed. Load a fresh, flat stack of paper and adjust the guides. Plug in the printer, turn it on and print a test page or a short document.
Inkjet versus laser printer roller cleaning
The cleaning principle is much the same, but access and care points differ. Inkjet printers commonly have pickup rollers close to the rear or bottom paper tray. They are usually straightforward to clean, although compact home models can be difficult to access by hand.
Laser printers may have rollers in several locations, including the cassette tray, manual feed slot and rear paper path. They also contain a toner cartridge and drum assembly. Remove these only if the manual directs you to, and place them on a clean, covered surface away from bright light. Do not touch the green or blue drum surface with your fingers.
Some business printers include a maintenance menu with a roller-cleaning or paper-path-cleaning routine. Run that routine after manually cleaning the accessible rollers. It can help move internal rollers and clear loose dust from the path.
Mistakes that can make paper feeding worse
The biggest mistake is over-wetting the cloth. Water should never pool inside the printer or run into electrical components. A lightly damp cloth is enough to remove the thin film of dust and residue that affects grip.
Another common mistake is using adhesive tape on rollers to lift grime. Tape can leave adhesive behind, which makes the roller even more slippery. Similarly, applying rubber conditioners or tyre-cleaning products is not a reliable fix. Printer rollers are made for precise paper handling, not automotive use.
It is also tempting to keep cleaning when the printer still will not feed paper. But rollers do wear out. A roller that looks glossy, cracked, flattened or unusually smooth may no longer have enough grip. At that point, cleaning may help only briefly and replacement is the better option.
When cleaning is not enough
If the printer still jams or fails to pick up paper after a careful clean and test, inspect the paper path for torn scraps, labels or foreign objects. A small piece of paper lodged near a sensor can create the same error as a roller problem.
Check whether the issue started after changing paper type. Labels, envelopes, photo paper and thicker card should usually be fed through the designated manual or rear feed slot rather than the main tray. Your printer settings also need to match the paper type and size loaded.
Repeated feeding faults, grinding noises, or an error that appears before paper even starts moving can point to a worn roller assembly, damaged separation pad or internal sensor issue. For an older, heavily used printer, compare the likely repair cost with its age and running costs. For a newer home or office printer, a replacement roller kit or professional service can be worthwhile.
Keep rollers cleaner for longer
Store paper in its sealed wrapper until you need it, especially in humid conditions. Paper left exposed collects dust and absorbs moisture, both of which affect feeding. Fan a new stack lightly before loading it, remove any damaged sheets and avoid filling the tray above its marked limit.
A quick roller clean every few months is usually enough for a printer in regular use. If your printer sits in a dusty home office, workshop or reception area, check it more often. Keeping the paper path clean also helps your cartridges and toner do their job properly, so you get fewer interrupted print runs and less wasted paper.
A clean roller is a small piece of printer maintenance, but it often makes the difference between a printer that behaves when you need it and one that turns a simple print job into a paper-jam headache.