
 Ink Brands
 Why Is My Printer Smudging? Causes and Fixes
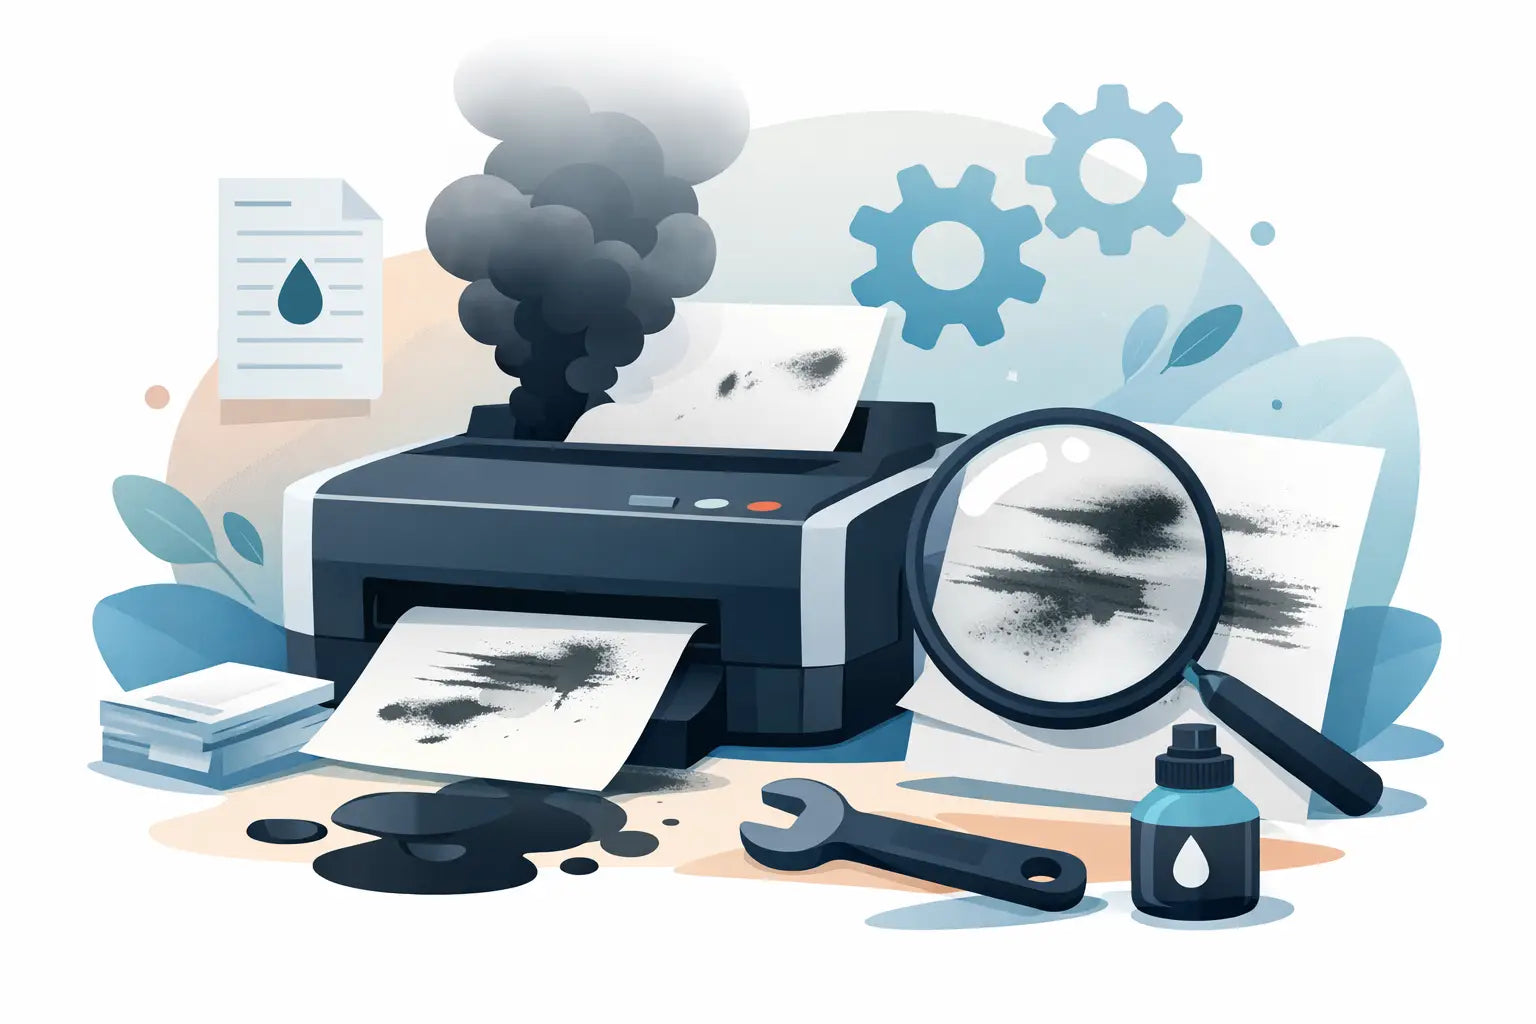
A clean document should not leave ink on your fingers or toner trails across the page. If you are asking, why is my printer smudging, the cause is usually one of a few fixable issues: the wrong paper setting, a cartridge problem, a dirty internal part, or paper that has not dried or fused properly.
The right fix depends on whether you have an inkjet or laser printer. Inkjet printers use liquid ink that can stay wet on the page, while laser printers use dry toner powder that must be bonded to the paper with heat. Working out which type you have helps you avoid wasting cartridges, paper and time.
Why Is My Printer Smudging? Start With the Pattern
Before cleaning anything, look closely at the smudge. Does it appear across the whole page, only at one edge, or at regular intervals? Does it wipe away with a finger? Is it black only, or does it affect colour printing as well?
A wet, blurry smear is more common with inkjet printers. It may point to unsuitable paper, excess ink, a clogged or misaligned printhead, or a damaged cartridge. A powdery mark that rubs off easily is usually a laser printer issue, often related to toner, the fuser or the paper setting.
Also print a test page. If the smudge shows up in the same place on every sheet, an internal roller, drum or printhead may be dirty. If it changes from page to page, the issue may be the paper, print settings or the way the documents are being handled after printing.
Common Inkjet Printer Smudging Causes
The paper does not suit the print job
Inkjet paper matters more than many people expect. Standard copy paper can absorb liquid ink unevenly, especially when you print photos, graphics or dark text-heavy pages. The result can be bleeding, feathered edges or smudges that take too long to dry.
Check that the paper type selected in the printer settings matches what is in the paper tray. If you have selected photo paper but loaded plain paper, the printer may lay down more ink than the sheet can handle. Conversely, using the plain-paper setting on coated photo paper can affect the finish and colour quality.
Paper that has been stored in a humid room can also cause trouble. Damp sheets absorb ink differently and may curl or move poorly through the printer. Try a fresh ream of dry, good-quality paper and keep unused paper sealed where possible.
Too much ink is reaching the page
Dark images, high-quality print settings and borderless printing all use more ink. On ordinary office paper, that can lead to smearing even when the printer and cartridge are working normally.
Try switching from Best or High quality to Standard quality for everyday documents. For draft documents, use Draft mode. This reduces ink use and often improves drying time. It is a sensible trade-off when you need invoices, school notes or internal office paperwork rather than presentation-quality prints.
If you are printing double-sided pages, give the first side time to dry before printing the second. Automatic duplexing is convenient, but heavily inked pages can smudge as they pass back through the printer.
The printhead or cartridge is dirty
A printhead can collect dried ink, dust or tiny paper fibres. This may create streaks, blotches or marks that repeat at the same point on each page. Many inkjet printers include a maintenance menu with options such as Printhead Cleaning, Nozzle Check and Printhead Alignment.
Start with a nozzle check, then run one standard cleaning cycle if needed. Print another test page before repeating it. Running several cleaning cycles back-to-back uses a significant amount of ink and may not solve a mechanical problem.
If your printer uses cartridges with integrated printheads, remove the affected cartridge and check for ink around the contacts or nozzle area. Avoid touching the nozzles, and never use household cleaners. A lint-free cloth lightly dampened with water can be suitable for wiping ink from accessible areas, but follow your printer manual where possible.
A cartridge is leaking, damaged or incorrectly fitted
A cartridge that is not seated properly can cause inconsistent printing and ink transfer inside the printer. Check that each cartridge clicks into place and that any protective tape was fully removed before installation.
Inspect for obvious cracks, leaks or excessive ink around the cartridge. If one colour is smudging while the others print normally, replacing that specific cartridge may be the practical answer. Use a cartridge that is confirmed for your exact printer model. Genuine and compatible cartridges can both be reliable choices when they are correctly matched and supplied by a reputable retailer.
Laser Printer Smudging Often Means Toner Has Not Fused
Laser printers are popular in busy homes and workplaces because toner is dry and pages are generally ready to handle straight away. When toner smudges, however, it usually means the powder has not bonded properly to the paper.
Check the paper type setting first
Laser printers adjust heat and speed based on the paper setting. If the machine is set to plain paper but you are using thick stock, labels or envelopes, the fuser may not apply the right amount of heat. Toner can then sit on the surface and rub off.
Choose the closest matching media setting in the print dialogue or printer menu. For example, select Labels for label sheets and Heavy Paper or Cardstock for thicker paper. Only use media that your printer is designed to handle, as unsuitable materials can jam or damage the fuser.
The toner cartridge may be the issue
A low-quality print, scattered toner or repeated grey marks can be linked to a worn or faulty toner cartridge. Carefully remove the cartridge and look for loose toner, scratches on the drum surface, or damage to seals. Do not touch a visible drum with your fingers, as oils can affect print quality.
If the cartridge is new, make sure all packing tabs and sealing strips have been removed. Then reinstall it firmly. If the problem began immediately after fitting a new cartridge and persists after checking the settings, contact the supplier for support rather than continuing to print and spreading toner through the machine.
The fuser, drum or rollers may need attention
The fuser is the heated component that permanently bonds toner to paper. A worn fuser can cause toner to smear, flake or rub away, particularly in the same area on every page. Because fusers run extremely hot, do not attempt to clean or handle one straight after use.
Some laser printers use a separate drum unit, while others build the drum into the toner cartridge. Repeating spots, lines or shadows at regular intervals may indicate a drum issue. Dirty paper-feed rollers can also leave marks or pull sheets through unevenly.
For a printer that has produced thousands of pages, replacing a maintenance part may be better value than repeatedly changing toner cartridges. On an older, low-cost machine, compare the repair cost with replacement before committing. The most economical option depends on the printer model, its page volume and the condition of the rest of the machine.
A Simple Smudging Troubleshooting Routine
Switch the printer off, allow it to cool if it is a laser model, and remove any loose paper from the tray and output area. Check for torn scraps, labels or toner residue inside the printer. A sheet that has partially torn during a jam can keep causing marks long after the jam appears to be cleared.
Next, load fresh paper and confirm the paper type setting. Print a test page. If the smudge remains, use the built-in cleaning or maintenance option appropriate for your printer type. Then inspect and reseat the cartridges.
Avoid using compressed air inside a laser printer. It can push fine toner dust into areas where it does not belong. Likewise, avoid harsh cleaning products, tissues that shed fibres, and excessive rubbing of drums or printheads. A dry, lint-free cloth is usually the safer choice for accessible dust or loose residue.
When to Replace a Cartridge and When to Call for Help
Replace the cartridge when there is visible leaking, a damaged drum, persistent single-colour smudging, or poor output that remains after the usual maintenance steps. If you are unsure which cartridge fits, use your printer model rather than relying on the appearance of the old cartridge. Similar-looking cartridges are not always interchangeable.
Seek professional help when the printer reports a fuser or maintenance error, toner will not adhere after correct paper settings are selected, or repeated marks suggest an internal component has worn out. This is particularly worthwhile for a business printer that handles regular volumes and would be costly to replace.
For everyday cartridge replacement, Inkspot can help Australian households and businesses find compatible genuine or aftermarket ink and toner options for their printer model. The key is not simply buying the cheapest cartridge, but choosing the correct one and matching it with the paper and settings your printer needs.
A smudged page is frustrating, but it is usually a useful clue rather than a disaster. Start with fresh paper and the right settings, make one change at a time, and keep your printer clean. You will get a clearer answer - and cleaner documents - far sooner than by replacing parts at random.