
 Ink Brands
 How to Replace an Ink Cartridge Without the Mess
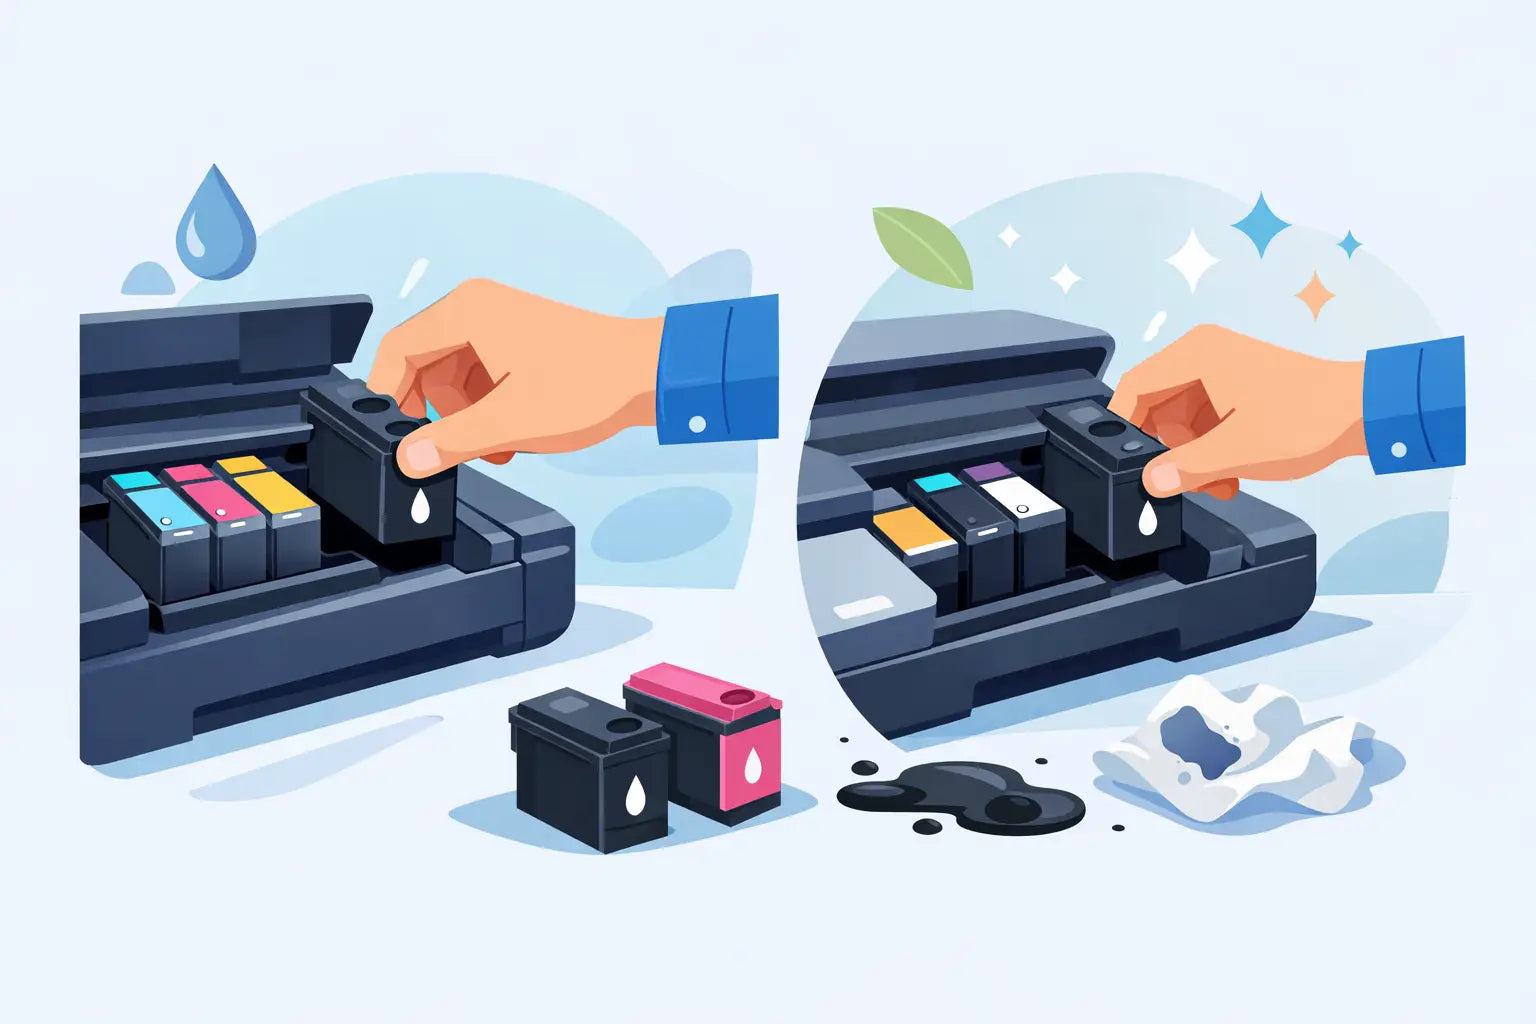
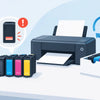
A flashing low-ink message always seems to appear five minutes before you need to print something important. The good news is that learning how to replace an ink cartridge is usually quick and straightforward - provided you have the correct cartridge and let the printer guide you through the process.
The small details matter. Removing a protective seal too early, forcing a cartridge into the wrong slot or touching the ink nozzles can lead to messy hands, error messages or poor print quality. This practical guide explains how to change your cartridge cleanly and get back to printing with confidence.
Before you replace an ink cartridge
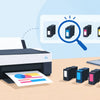
Start by checking your printer model and the cartridge number required. A cartridge may look almost identical to another one but use a different chip, shape or ink formulation. The printer model is normally printed on the front, top or back of the machine, while the cartridge number can often be found on the old cartridge or inside the printer cover.
Have the new cartridge beside the printer before you remove the empty one. This reduces the time the printhead is exposed to air and helps prevent accidental confusion between colour cartridges. It is also worth placing a sheet of paper or an old cloth under the cartridge access area if you are concerned about drips.
Make sure the replacement is suitable for your exact printer model. You can choose a genuine cartridge made by the printer manufacturer or a quality compatible alternative. Genuine cartridges are the original brand option, while compatibles can offer significant savings for everyday home and office printing. The right choice depends on your printing needs, budget and any workplace purchasing requirements.
How to replace an ink cartridge step by step
Most inkjet printers use a similar process, although the cartridge bay, release clip and cartridge arrangement differ by brand and model. Follow the instructions shown on your printer screen or in its manual if they differ from the steps below.
1. Turn the printer on
Leave the printer switched on and connected to power. Open the scanner unit, front cover or cartridge access door, depending on the printer. The cartridge carriage should move into a replacement position automatically.
Do not try to push the carriage across by hand. On many models, it is locked when not in the correct position and forcing it can damage the mechanism.
2. Identify the cartridge that needs changing
If your printer uses separate black, cyan, magenta and yellow cartridges, check the label above the slots or on the display. Colour labels are useful, but do not rely on the cartridge’s outer plastic colour alone.
Some printers use two cartridges: one black and one tri-colour. Others use individual tanks for each colour. Replace only the cartridge that is empty unless another cartridge is also near the end of its life and you prefer to change them together.
3. Remove the old cartridge gently
Press the release tab, lift the retaining clip or push the cartridge down slightly, depending on the model. The cartridge should come free with light pressure. If it does not, stop and check for a latch rather than pulling harder.
Keep the old cartridge upright to avoid ink transfer. Set it on the paper or cloth you prepared, not directly on furniture or carpet. Even an apparently empty cartridge can contain residual ink.
4. Prepare the new cartridge
Open the new cartridge packaging only when you are ready to install it. Remove any orange clip, plastic cap, foil seal or pull tab exactly as directed on the cartridge label.
Avoid touching the gold or copper-coloured electrical contacts, ink nozzles or printhead outlet. Skin oils and dust can interfere with the connection, while handling the nozzle area can affect print quality. There is no need to shake standard ink cartridges. In fact, vigorous shaking can cause leaks or introduce bubbles.
5. Install the replacement cartridge
Match the new cartridge to the correct slot, then slide or press it into place. You should feel it settle securely or hear a soft click. Close any retaining clip before shutting the printer cover.
Never force a cartridge. If it will not fit easily, remove it and check the cartridge number, orientation and any remaining protective tape. A cartridge installed at the wrong angle may not connect properly, even if the cover closes.
6. Close the cover and allow the printer to initialise
Once the cover is closed, the printer may take a minute or two to recognise the cartridge and charge the ink system. It may make a few mechanical noises during this process. Leave it alone until the display confirms it is ready.
Some printers ask you to confirm that a cartridge has been replaced, align the printhead or print an alignment page. Complete these prompts when they appear. Alignment is especially useful after replacing colour cartridges, as it helps keep text sharp and colours positioned correctly.
If the printer does not recognise the new cartridge
A cartridge error does not always mean the cartridge is faulty. First, open the printer and check that every piece of protective tape, pull tab and sealing clip has been removed. Then confirm the cartridge is fully seated and installed in the correct slot.
If the message remains, remove the cartridge, check the electrical contacts for visible debris and reinstall it carefully. Switch the printer off using its power button, wait around 30 seconds, then turn it back on. Avoid unplugging it while it is running unless the manufacturer specifically advises this.
A printer may also show a non-genuine, used or depleted cartridge warning. This can happen with compatible cartridges and, in some cases, genuine replacements that use a different regional packaging format. Read the screen message carefully. If the printer offers an option to continue, acknowledge it only if you are certain the cartridge matches your model.
For persistent errors, compare the cartridge number against the printer model rather than relying on the printer brand alone. HP, Canon, Epson, Brother and other brands often use different cartridges across closely related models. Inkspot’s printer-model search makes this check simpler when it is time to order replacements.
Get clean prints after changing the cartridge
A successful installation does not always produce a perfect first page. If text is faint, colours are missing or lines appear across images, print a nozzle check or test page from the printer’s maintenance menu. This will show whether one colour is not flowing properly.
Run one printhead cleaning cycle if needed, then print another test page. Cleaning uses ink, so avoid running several cycles in a row unless your printer instructions recommend it. If the printer has sat unused for months, dried ink may require more than one gentle cleaning cycle, but repeated cleaning can use a surprising amount of a new cartridge.
For the best results, use the printer regularly. Even printing a small colour page every week or two can help reduce nozzle blockages in inkjet printers. Store spare cartridges sealed in their original packaging, in a cool, dry cupboard away from direct sunlight. Do not leave them in a hot car, garage or sunny windowsill.
Common cartridge replacement mistakes to avoid
The most expensive mistake is buying the wrong cartridge. Check both the printer model and cartridge code before ordering, particularly if your printer range has similar-looking names. Another common issue is opening a cartridge and then discovering it is not compatible, which can make a return more difficult.
Do not remove a cartridge just because the printer reports low ink unless you have a replacement ready. Low ink is a warning to order, not always an instruction to stop printing immediately. Your printer may continue to print for some time, although colour accuracy can become less reliable as ink runs low.
It is also best not to ignore a genuinely empty cartridge for too long. Printing with empty ink channels can affect print quality and may place unnecessary strain on the printhead. Replace it promptly once prints begin fading or the printer reports that it cannot continue.
Dispose of used cartridges responsibly
Used ink cartridges should not go in your regular rubbish bin if a recycling option is available. Many manufacturers, office-supply services and local recycling programmes accept empty cartridges for recovery or recycling. Keep the empty cartridge in a small bag until you can take it to an appropriate collection point.
If the cartridge has leaked, handle it with gloves or a paper towel and wash ink from your hands with soap and water. Avoid using harsh solvents on skin or on the printer itself.
Replacing an ink cartridge is one of those small jobs that becomes easy after the first time. Keep the right cartridge on hand, follow the printer’s prompts and give it a moment to initialise - then your next important page is far less likely to be held up by a flashing warning light.