
 Ink Brands
 How to Install Toner Cartridge Properly
Nothing stalls a print job faster than a new toner cartridge sitting on your desk while the printer flashes an error. If you are wondering how to install toner cartridge correctly, the good news is that most laser printers follow the same basic process. The trick is handling the cartridge properly, fitting it into the right slot, and avoiding a few easy-to-make mistakes that can lead to poor print quality or a printer that refuses to recognise it.
This is one of those jobs that sounds more technical than it is. In most cases, you can have the new cartridge fitted in a few minutes, as long as you have the correct toner for your printer model and you do not rush the setup.
Before you install a toner cartridge
Start by checking the cartridge box against your printer model. This matters more than many people realise. Toner cartridges can look very similar across a brand range, but even small differences in shape or chip design can stop the printer from accepting the cartridge.
If you are replacing a cartridge in a home office or small business printer, it is also worth looking at whether your machine uses a combined toner-and-drum unit or separate toner and drum components. On some Brother and Fuji Xerox models, for example, the toner cartridge locks into a drum unit before it goes into the printer. On many HP models, the toner cartridge is a single all-in-one unit. If you are not sure which type you have, check the old cartridge before opening the new one too aggressively.
You should also keep the printer on unless your model manual says otherwise. Many printers are designed so the cartridge carriage moves into position only when the front cover is opened while powered on. If the machine is warm from recent printing, give it a minute to settle, especially in compact office lasers where internal parts can get hot.
How to install toner cartridge step by step
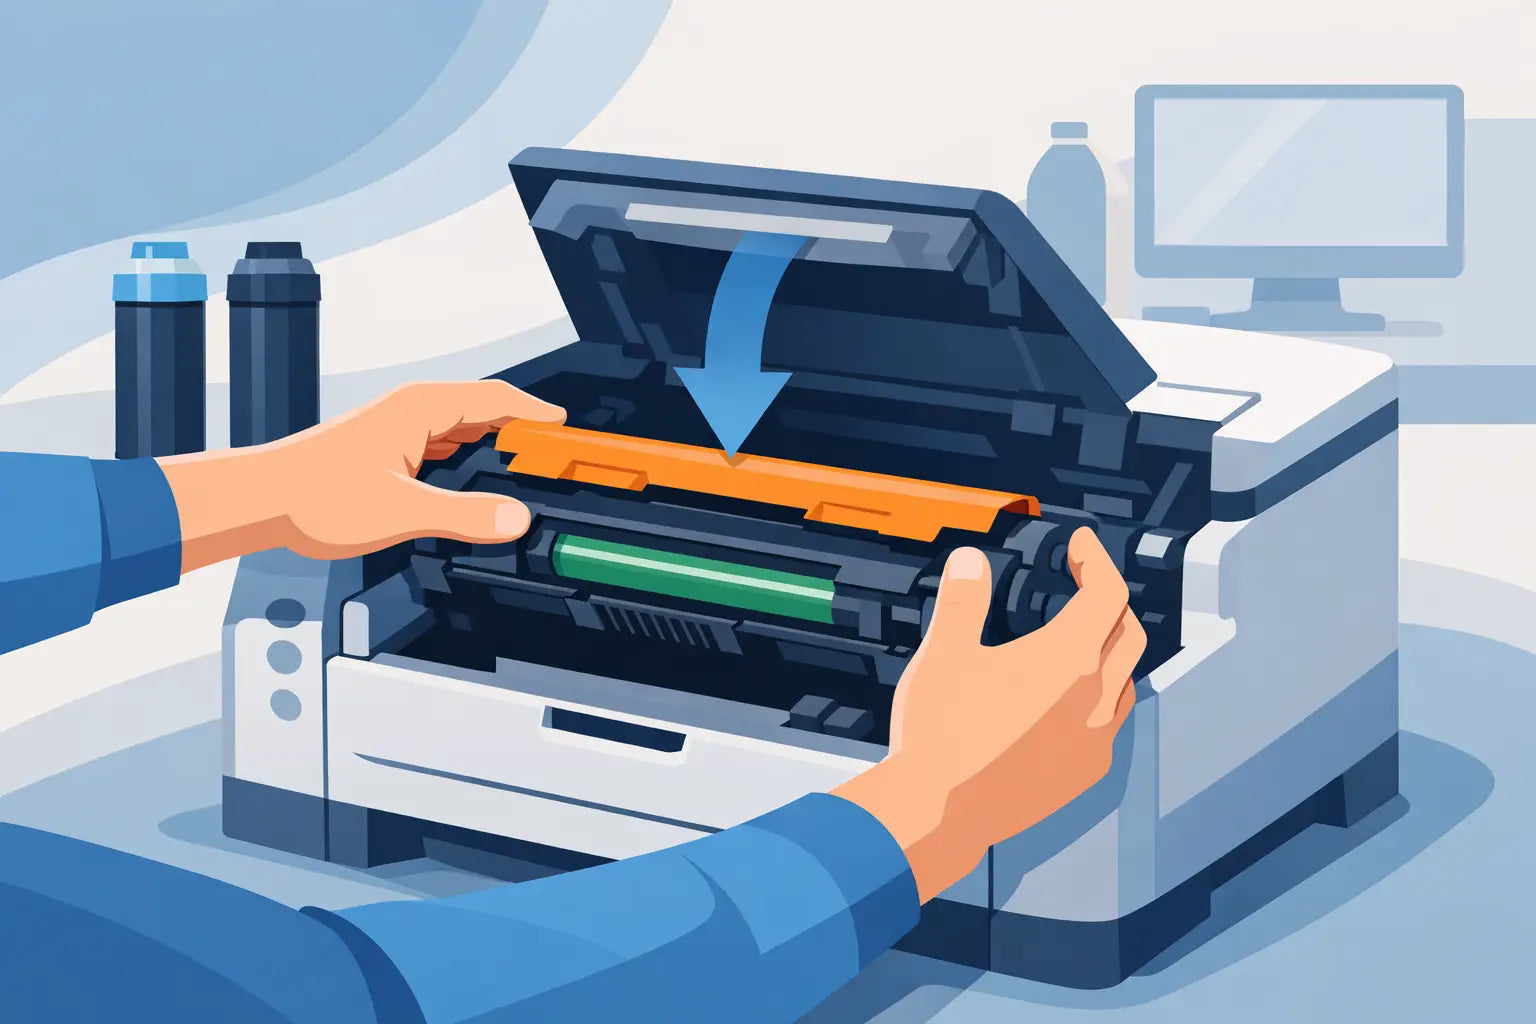
Open the printer access panel slowly and remove the old toner cartridge. In most printers, the cartridge slides straight out using a built-in handle. If it feels stuck, stop and check for a release tab or locking mechanism rather than forcing it. A toner cartridge should come out with steady pressure, not a wrestling match.
Set the old cartridge aside on paper or its original packaging to avoid loose toner getting on your desk. Even an empty cartridge may still contain fine toner dust, so it pays to keep things tidy.
Take the new cartridge out of its box and remove all protective packaging. This usually includes a plastic bag, orange clips, foam strips, and a sealing tape that must be pulled out before installation. Missing this step is one of the most common reasons a freshly installed cartridge does not print properly. If there is a pull tab, remove it fully and in the direction marked on the cartridge.
Before inserting the cartridge, gently rock it from side to side a few times. This helps distribute the toner evenly inside the cartridge, which can improve print consistency from the first page. Do not shake it like you are mixing paint. A gentle motion is enough.
Now align the cartridge with the printer guides and slide it in until it clicks or sits firmly in place. If your printer uses a separate drum unit, fit the toner cartridge into the drum first, then insert the full assembly into the printer. Close the cover and wait while the machine initialises.
Some printers will immediately recognise the new cartridge and return to ready status. Others may take a little longer, run a calibration cycle, or prompt you to confirm that a new cartridge has been installed. That is normal.
Common mistakes when installing toner
Most toner installation problems come down to three issues: the wrong cartridge, packaging left on the cartridge, or the cartridge not being fully seated.
The wrong cartridge is more common than it should be, particularly when people order by brand instead of by printer model. An HP cartridge for one LaserJet series may not work in another, even if the number looks close. The same goes for Canon, Brother, Samsung and Lexmark ranges.
Protective strips are another frequent culprit. If the printer says there is no cartridge installed, or prints completely blank pages, check whether all seals and transit clips were removed. Manufacturers add them to protect the toner during shipping, but they have to come off before use.
Then there is simple alignment. If the cartridge is only halfway in, the printer may detect it incorrectly or the front cover may not close properly. Remove it, line it up with the guide rails again, and reinsert it carefully.
What to do if the printer does not recognise the cartridge
If you have followed the basic steps and the printer still does not recognise the toner, do not assume the cartridge is faulty straight away. Start with the easy checks.
Take the cartridge back out and inspect it for any remaining tape, covers or packing pieces. Then check the metal contacts or chip area for obvious dust or fingerprints. You do not need to scrub anything. A careful visual check is usually enough.
Next, reinstall the cartridge and restart the printer. Some models need a full power cycle before they register a newly fitted cartridge. If your printer has a menu option to reset toner levels or confirm replacement, complete that step as well.
It also depends on whether you are using a genuine cartridge or a compatible one. Quality compatible cartridges can offer excellent value, but some printers are fussier than others about chip recognition. A well-matched cartridge should still install cleanly and function properly, but if there is an issue, it helps to buy from a supplier that can confirm compatibility and back the product with proper support.
How to install toner cartridge without making a mess
Toner is finer than ink and can spread quickly if a cartridge is dropped or handled roughly. The good news is that normal installation rarely gets messy unless the cartridge is damaged.
Keep the cartridge level while unpacking and fitting it. Avoid touching the roller or drum surface if it is exposed, as oils from your fingers can affect print quality. If a small amount of toner gets on your hands, wash it off with cold water first. Hot water can make toner harder to remove.
If you do spill toner, do not wipe it with a wet cloth straight away. Use a dry cloth or paper towel carefully. For larger spills, a vacuum designed for fine dust is safer than a standard household vacuum, which can sometimes blow toner particles back into the air.
After installation, print a test page
Once the cartridge is installed, print a test page or a simple document with text and shaded areas. This gives you a quick read on whether the cartridge is seated correctly and whether the print quality looks right.
A few faint lines or slightly uneven density can clear after the first couple of pages as the toner settles. Persistent streaks, blank sections or grey background shading usually point to an installation issue, a damaged cartridge, or a drum problem rather than the toner alone.
This is where printer design matters. If your machine uses a separate drum unit, replacing toner will not fix every print defect. A worn drum can cause marks even when the new toner cartridge is perfectly fine. That is why it helps to know whether your printer treats toner and drum as separate consumables.
A quick word on storage and replacement timing
If you bought toner in advance, store unopened cartridges in a cool, dry spot away from direct sunlight. Do not leave them in a hot car, near a heater, or in a damp cupboard. Toner cartridges are fairly durable, but poor storage can still affect performance over time.
It is also smart not to replace toner too early. Many printers show a low-toner warning well before the cartridge is actually empty. In a lot of cases, you can keep printing for quite a while, especially for everyday text documents. Replacing only when print quality drops or the printer stops can help you get full value from each cartridge.
If you print regularly at home or in the office, keeping a spare on hand can save a lot of frustration. That is particularly true for busy periods when you do not want to be caught out by a cartridge running dry at the worst possible moment.
Installing toner is usually straightforward once you know what your printer expects. Match the cartridge to the exact printer model, remove every bit of packaging, fit it carefully, and give the printer a moment to recognise it. If something does not look right, slow down and check the basics first. A calm two-minute recheck often fixes what looks like a much bigger problem.